
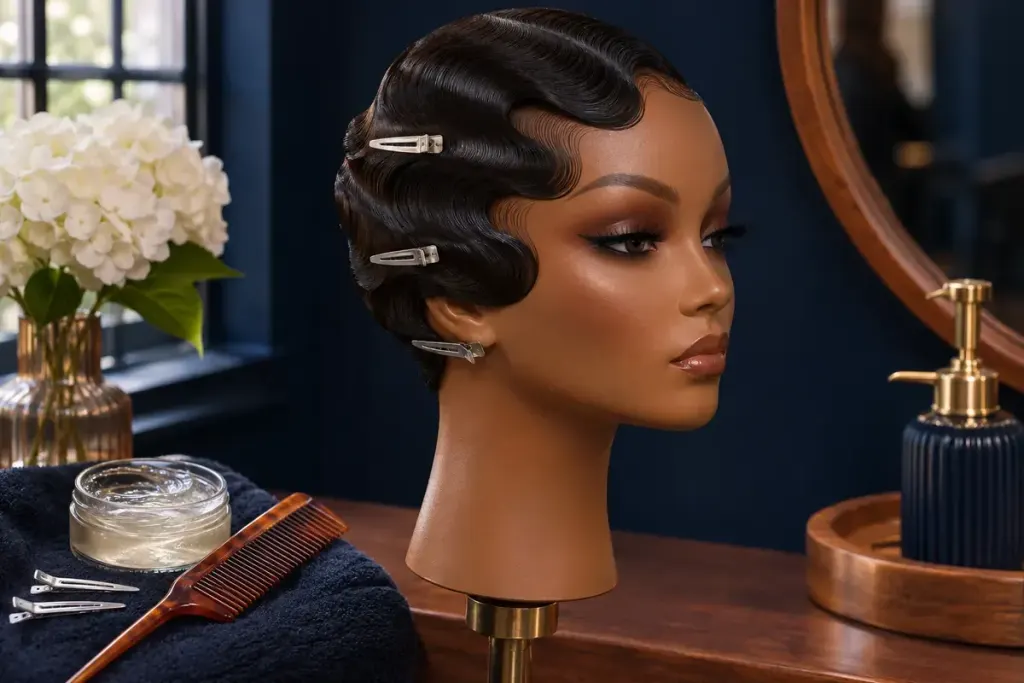
Two reference photographs may both be described as vintage waves, yet show very different shapes. In one, curls hang away from the head. In the other, smooth ridges travel close to the scalp in an S-shaped pattern. The second is the useful starting image for a conversation about finger waves.
TRESemmé’s finger-wave styling guide presents the shaped wave pattern and the role of controlled setting. The look depends on the direction of the ridges as well as the shine on the surface.
Bring a view of the side
A front-facing picture may hide where the pattern turns around the head. When planning a salon visit, bring a clear side view and explain which feature you like: a defined ridge near the face, a close overall shape or a softer interpretation.
Ask the stylist how that reference relates to your current length, texture and intended finish. A photograph is a way to describe the result, not proof that every head of hair can reach it using the same preparation.
Practise one section without racing the setting stage
If you are learning, choose a tutorial suited to your hair and products, then work on a small area before planning an entire occasion hairstyle. Set out the recommended comb, clips and styling product first. Follow the product instructions and avoid forcing a comb or clip against a tender scalp.
Take a photograph of the section from the side before changing anything. Use it to notice whether the ridges are clear and whether one curve flows into the next. That is a more specific practice goal than trying to make the whole style “neater”.
Allow the recommended setting and drying process to finish before judging the result or removing supporting clips. If a section needs another attempt, revisit the preparation and direction rather than continually adding product on top.
For an important event, leave time for a trial. It gives you and the stylist a shared reference for the finished shape and the time needed to create it.